How to change the color of water in Lightroom Mobile
When you photograph a scene that contains water like a seaside or a river, the color of water is rarely ideal. Unless you’re on some tropical island, that is. Take a look at this shot I took last year in New York. The color of water here is okay-ish. It it could use a little optimization.

Original shot I took in New York. The color of the water needs some adjustment
And here is the shot after I edited it with Adobe Lightroom Mobile.

Color of water adjusted
In this tutorial I'll show you how to change the color of water in Adobe Lightroom Mobile right on iPhone.
Colors of Water
Lets start with a little physics and theory. I'll promise to keep it short.
Water by itself doesn't have any color. It’s simply transparent. But depending on a variety of factors we humans perceive different colors of water.
When light hits the water, certain colors of the light spectrum are basically absorbed by water (actually they're dispersed but let's keep it simple). The first color range that’s absorbed by water is red (at a depth of around 16 feet), followed by the orange tones, yellow, green and finally blue tones at a depth of 200 feet.
This explains why deep oceans are usually perceived as blue. But there are other factors that influence the color of water like if the bottom is sand, rocks or plants and if there's a lot of suspended loads in the water.
We humans usually associate different characteristics with water depending on it's color.
- Blue water is usually perceived as clean and deep. The darker the blue tone, the deeper we think the water is
- An emerald tone is often associated with clear and clean river or creek.
- Many perceive brown water as dirty and muddy (and it often is)
- A green tone (except for emerald) is often perceived as dirty as well in the sense that the water is full of algae
Thanks to Adobe Lightroom Mobile, it's quite easy to change the color of water to match what it should be.
Selective Adjustments in Lightroom
To change the color of water we need a feature of Adobe Lightroom that's called selective adjustments. With this feature we can change the color of water without affecting the rest of the photo. Selective Adjustments are a premium feature in Adobe Lightroom Mobile. While the app itself is free, some premium features like this require a paid Creative Cloud Subscription.
Selective adjustments in Adobe Lightroom Mobile can be used in three ways:
- Drag in a linear selection from the top or the bottom of the photo
- Create an elliptic shape anywhere in the photo
- Use a brush to select the area to apply the adjustments.
Selective adjustments are hidden behind the circle icon on the first position on the left in the toolbar at the bottom of the screen. Tapping this icon will display a big plus icon in the upper left corner. Tapping this plus icon will display three more icons from which you choose how you want to select the area for adjustment.
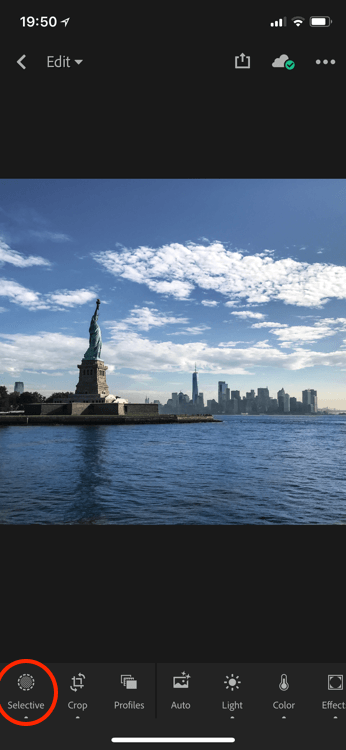
Tap to enter selective adjustments mode
I use them brush most of the time. So tap the first icon. Now set the size of the brush and the feathering. For this photo, I use a small brush and just a little feathering.

Three options for selective adjustments
To adjust the size of the brush, tap the brush icon and swipe up or down to increase or decrease the brush size. Adjusting the amount of feathering works the same way. Tap the feather icon (second one) and swipe up or down to increase or decrease the amount of feathering.

Set brush size and feathering
Now simply draw over the water area in the photo. You'll see that it will turn red to indicate the area you've selected. No worries, that's just an indication of which areas you've selected. Lightroom does not turn the water red.

Paint to select the area for which you want to change the color
If you accidentally painted out of the water, just use the eraser tool to fix it. Then switch back to the brush and continue until you've selected all water.

Ooops! Use eraser to correct mistakes when selecting an area
Especially when working along the edges, you can pinch and zoom in to be able to work more accurately
If you later need to edit the adjustment, just tap the selective adjustments icon again. Lightroom will display a romb for each selective adjustment you've applied. Just tap it and Lightoom will color them selected area red.
Now use then rush or eraser to adjust the selection or go to the selective color adjustment again and adjust it.
Applying the selective Adjustment
Now, once you've selected the area for which you want to change the color tap thencolor adjustment and swipe down until you see the color bar labeled color. Now swipe over the bar and watch the color (hue and saturation) change as you move your finger over the color bar. Colors at the top have more hue and are brighter while colors at the bottom of the color bar are darker.
Chose a color that you think is perfect for the shot.

Select any color you like
Then tap the checkmark in the lower right corner and you're done.
Now feel free to adjust the color of water to your liking. Make it pink or even white as milk. It's your choice. Personally, I try to keep it realistic and use a dark blue tone for oceans and lakes. A brighter blue for rivers and an emerald tone for shallow creeks.
Summary
In this tutorial, I demonstrated one way how to change to color of water in Lightroom Mobile. Please note, that using selective adjustments in Adobe Lightroom Mobile requires a premium subscription.
I have a free vs premium feature list of Lightroom Mobile in a blog post. Maybe, this can help you to decide, if it's worth your investment.
Care about some quick feedback about this article?

It's helpful

I still have a question

Not what I was looking for