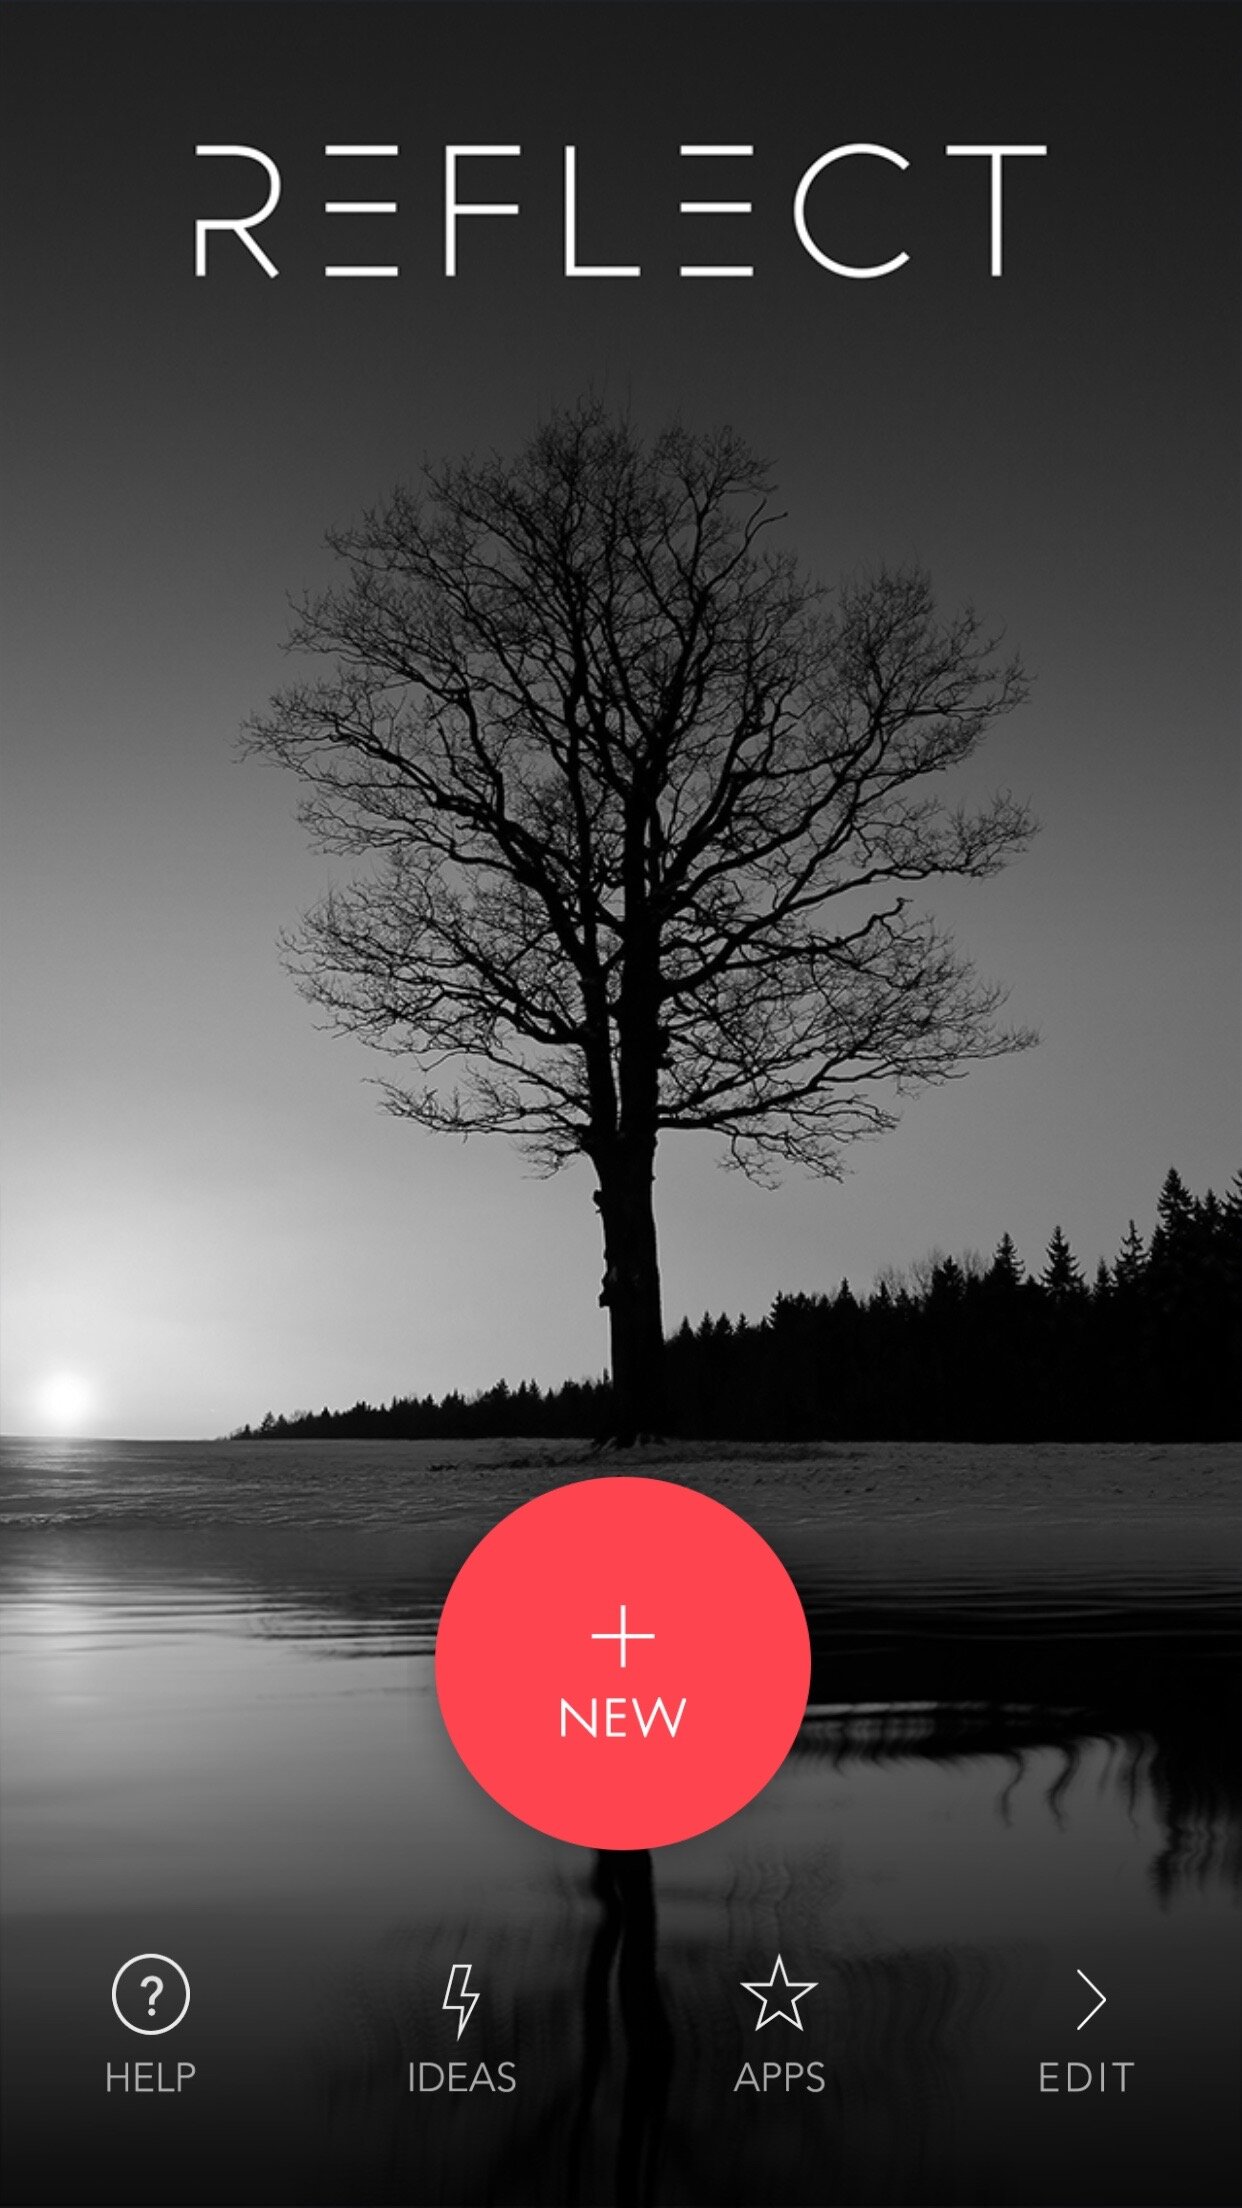
Review: Reflect Camera App helps creating Reflections
Reflect Camera App is a really cool special effects app from Brainfever Media. It helps you to add photorealistic water and material reflections to your photos right on the iPhone.
I use it since it was first released to create and fix water reflection shots that didn't turn out as I wanted them.
But Camera Reflect let's you do more: You can add different kind of reflective surfaces, manually adjust the intensity of the reflection and you can even add photorealistic objects like the sun, the moon, lightning strikes or a swarm of birds. Best of all, you can add multiple effects to a single photo.
The app is a universal app that works on the iPhone and iPad.
As of June 2015, Reflect supports a maximum output resolution of 2048x2048 pixels (4 megapixels). I've contacted the developers; they're working on an update with higher export resolution.
Brain fever Media, the developers of Reflect Camera App, have released a number of special effect photo apps for the iPhone. All of them share a consistent user interface. If you know how to use one of their apps, you can work with all others, too.
Here's how you add a water reflection to a photo.
After you launched the app, a big red button labelled "New" let's you load a photo into the app.
Tap "+New" to load a new photo from any album
After you've tapped "+ New", the photo selector appears. At the top, there's a banner labels "epic world collection". By tapping this banner you can load a community photo into the app and learn the app using this sample photo.
In the bottom left corner is the album selector. Tapping it will reveal all albums on your iPhone. Tap the desired album and you'll see all the photos from that album. A single tap on a photo will load the photo into Camera Reflect App.
Now you'll see a screen that allows you to crop and rotate the photo before you edit it. Tap "Done" in the upper right corner to continue loading the photo.
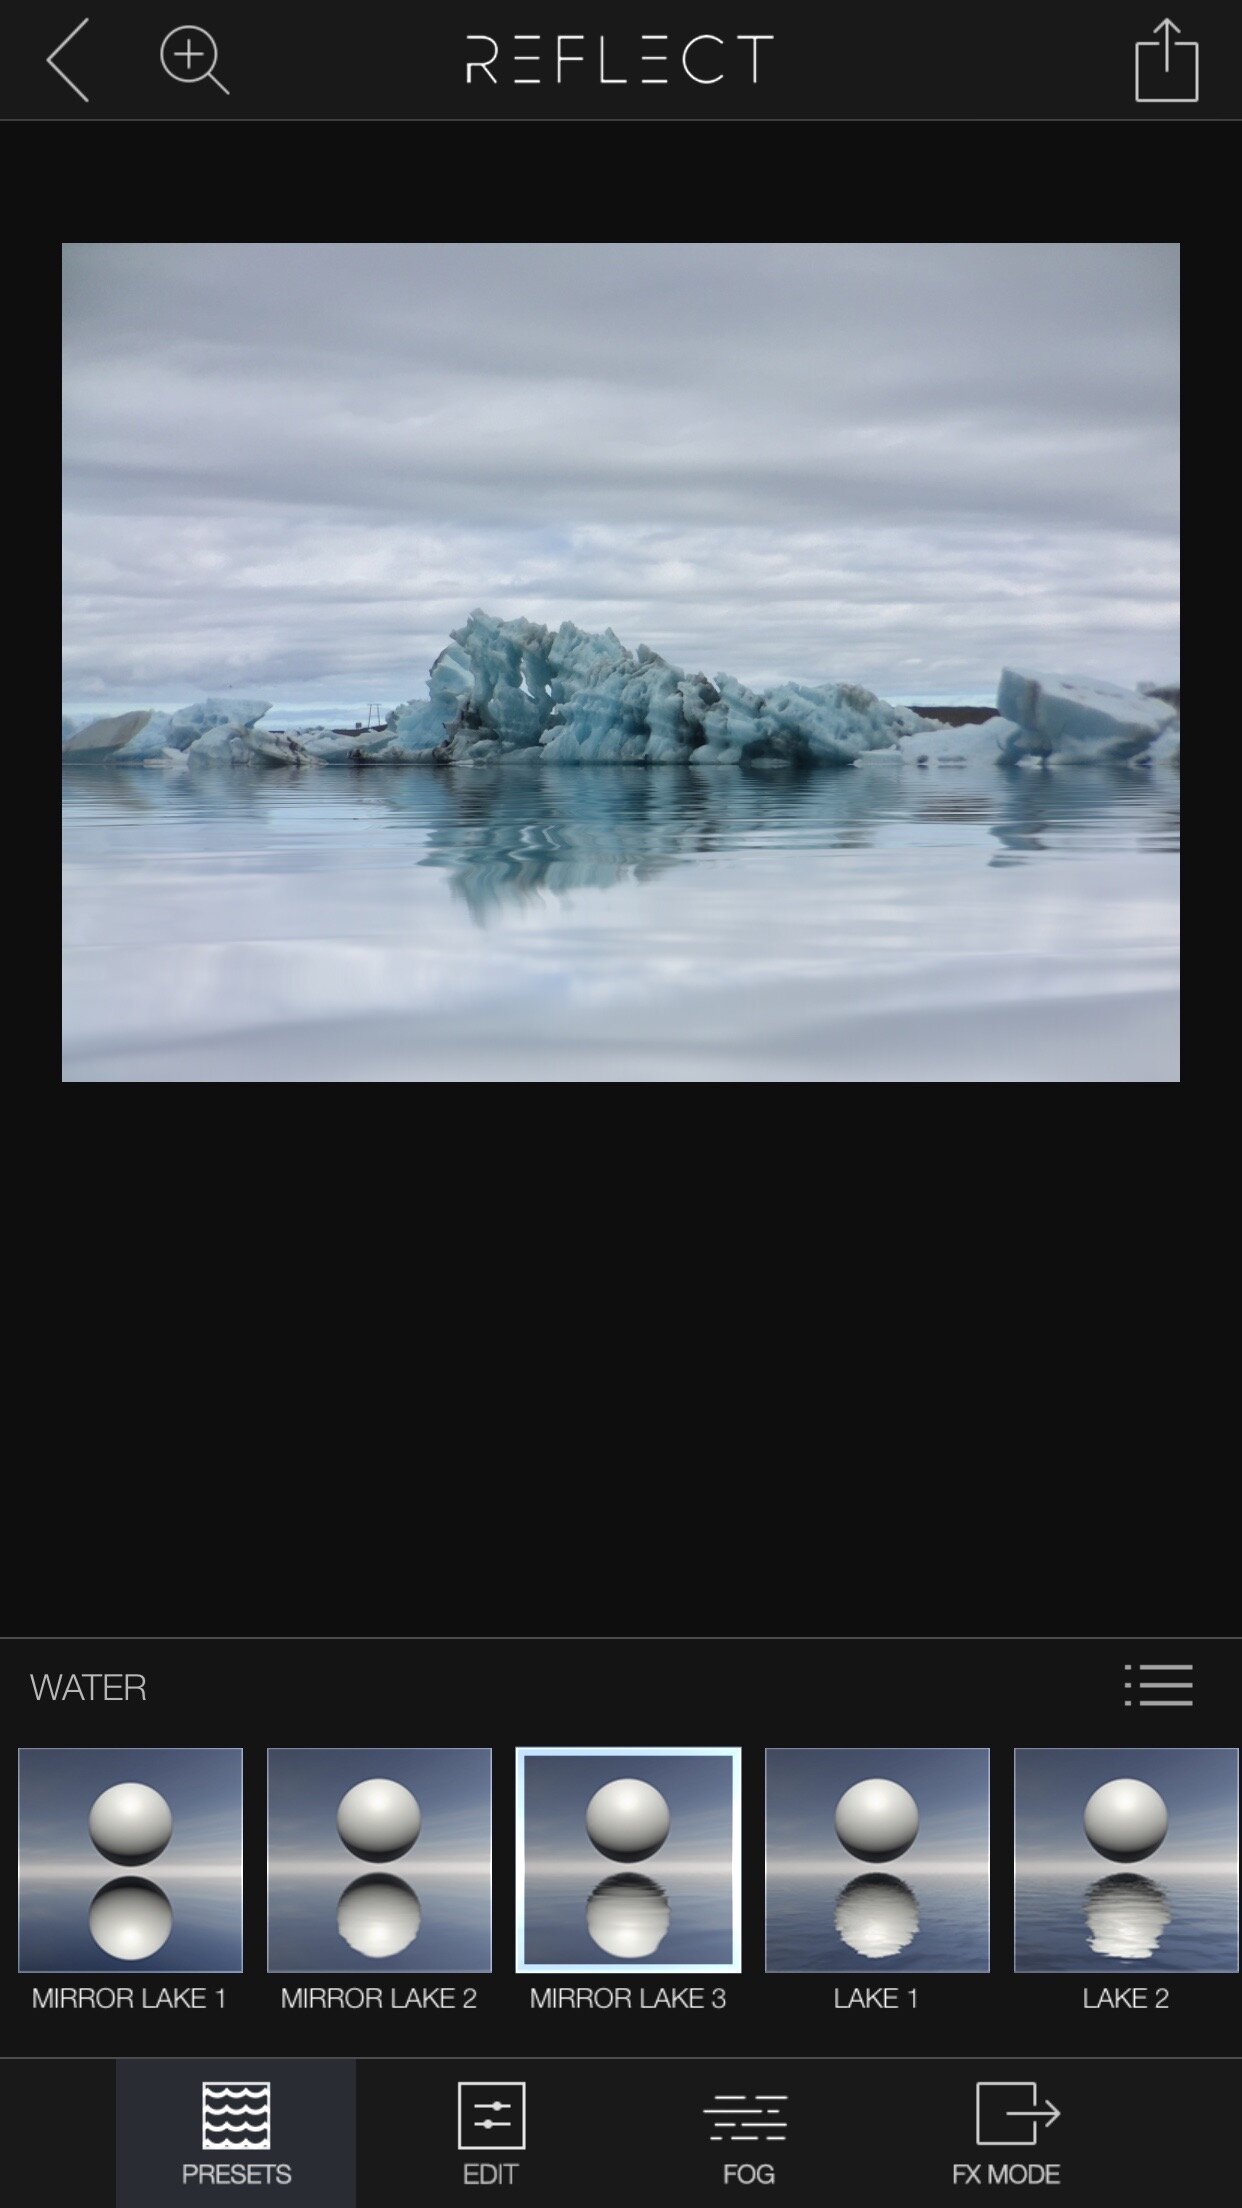
A toolbar will appear at the bottom. It has four buttons labelled "presets", "edit", "fog" and "fx mode". Let's start with "presets". Tapping presets will show a list of various presets of water and material that you can use. We'll use the "water" presets in this example.

Using the four buttons in the toolbar you can adjust the material settings used for reflection.
There're are number of water presets. I usually start with one of the "Mirror Lake" presets. I personally found them realistic and with all the options available you can do almost anything from a perfectly flat mirror lake to a lake with some heavy waves.
I started with "Mirror Lake 3" for this photo.
Next, tap "edit" and you can adjust "displacement" (I assume "waves" would have been a better label here), blur and bottom fade for the water. For each of the three options you use a slider to set the intensity.
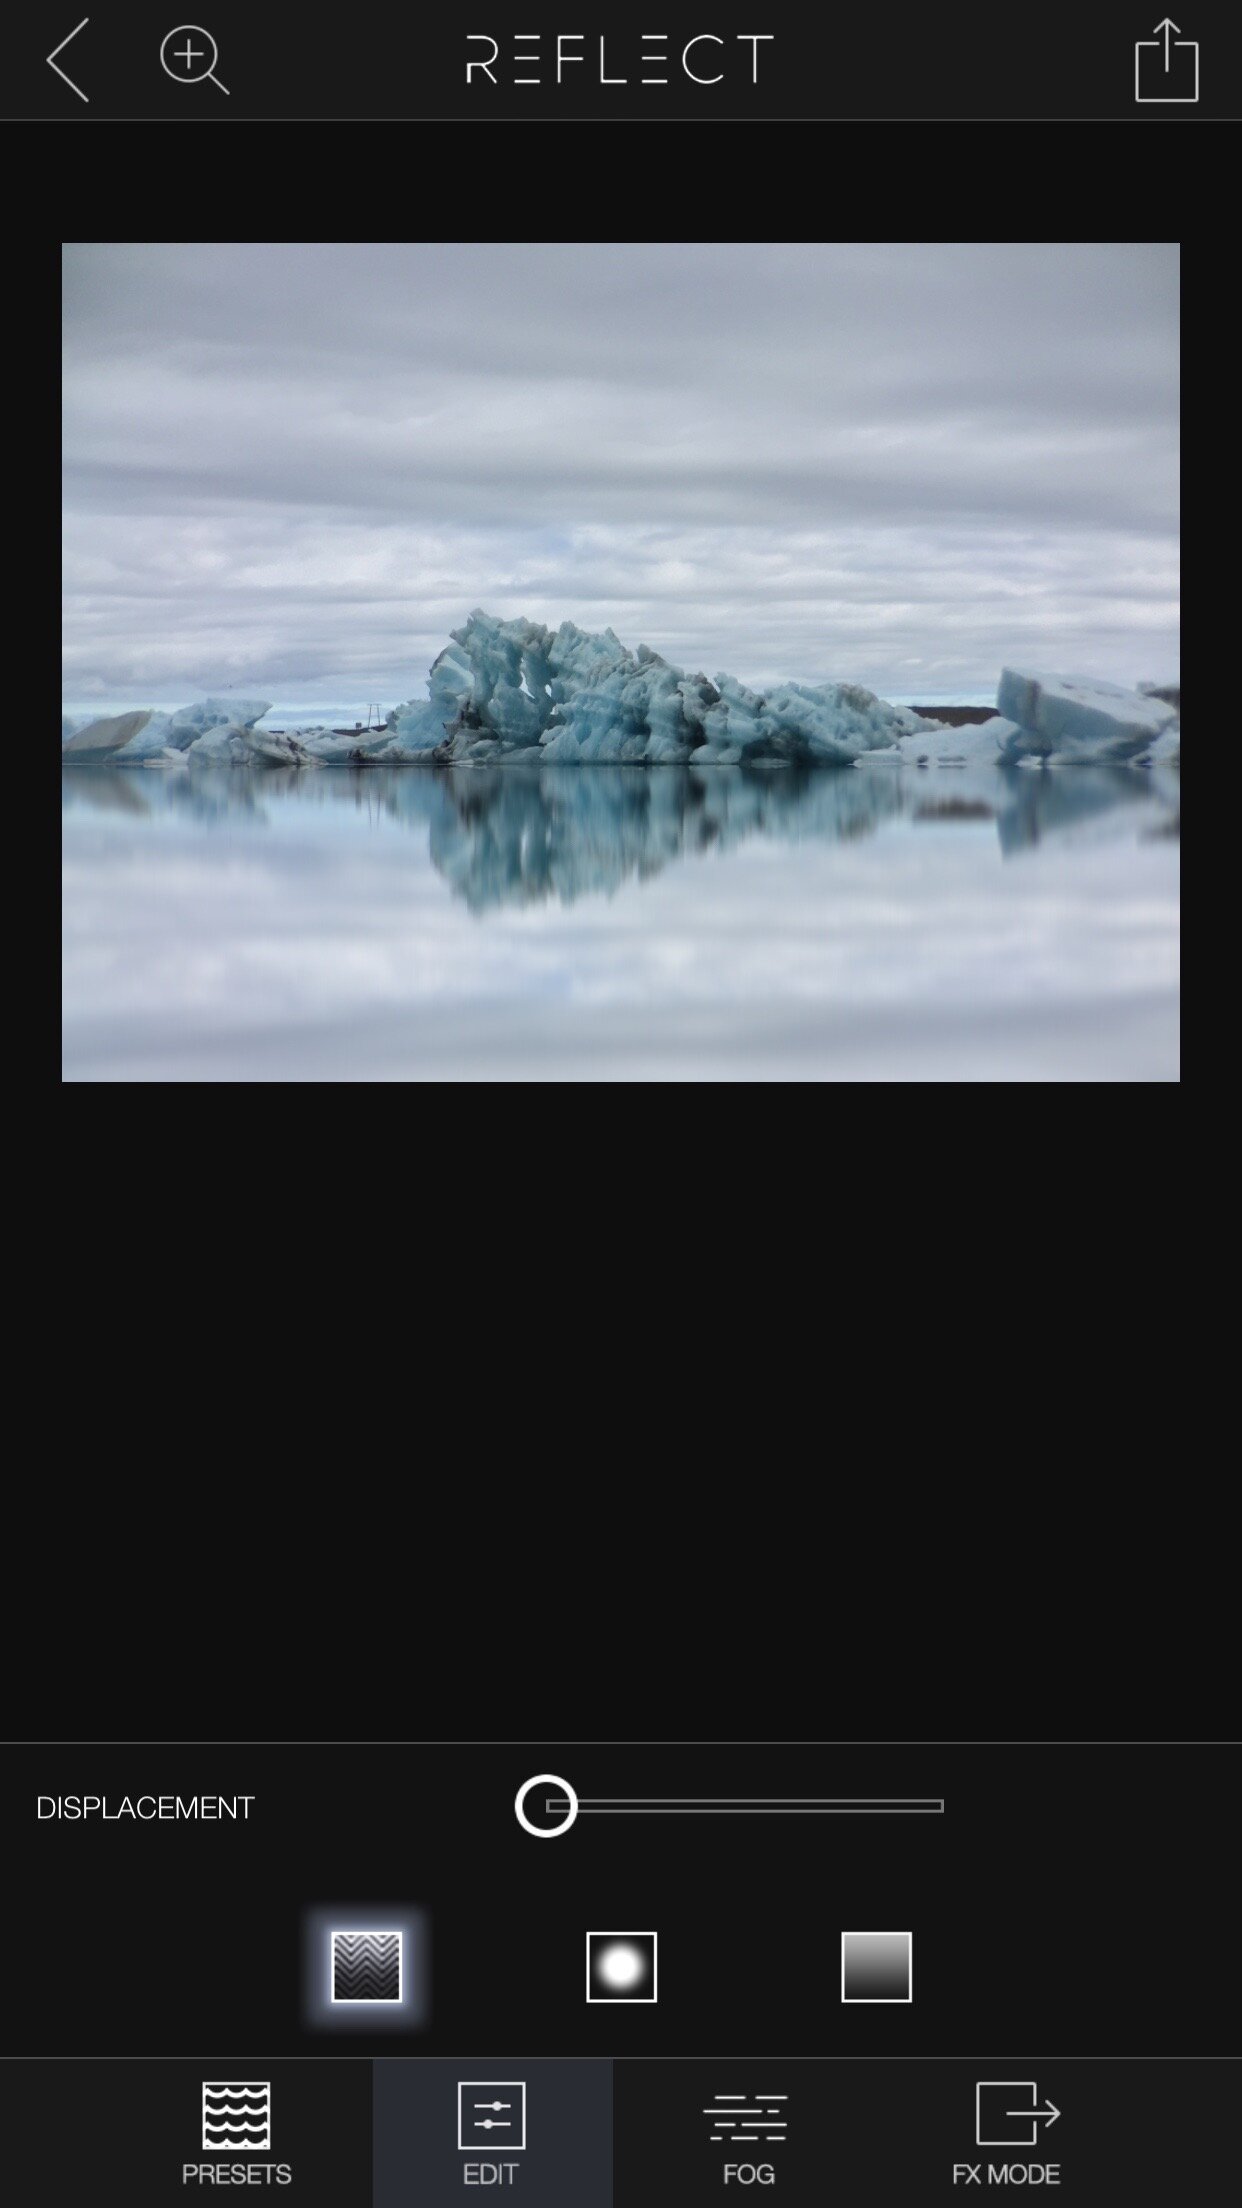
Use the "displacement" to set the intensity of the waves in the water. Move the slider to the right to get more waves (an less reflections).

By using the "Blur" slider, you set how clear the reflection should appear. The more you move the slider to the right, the more blurry the reflection will be.

Using the "Bottom Fade" slider you can fade out (darken) the bottom of your photo.
If you want to create the illusion of a misty morning at e.g. a lake, you'll like the "fog" setting. It will create a slight layer of fog above the water.
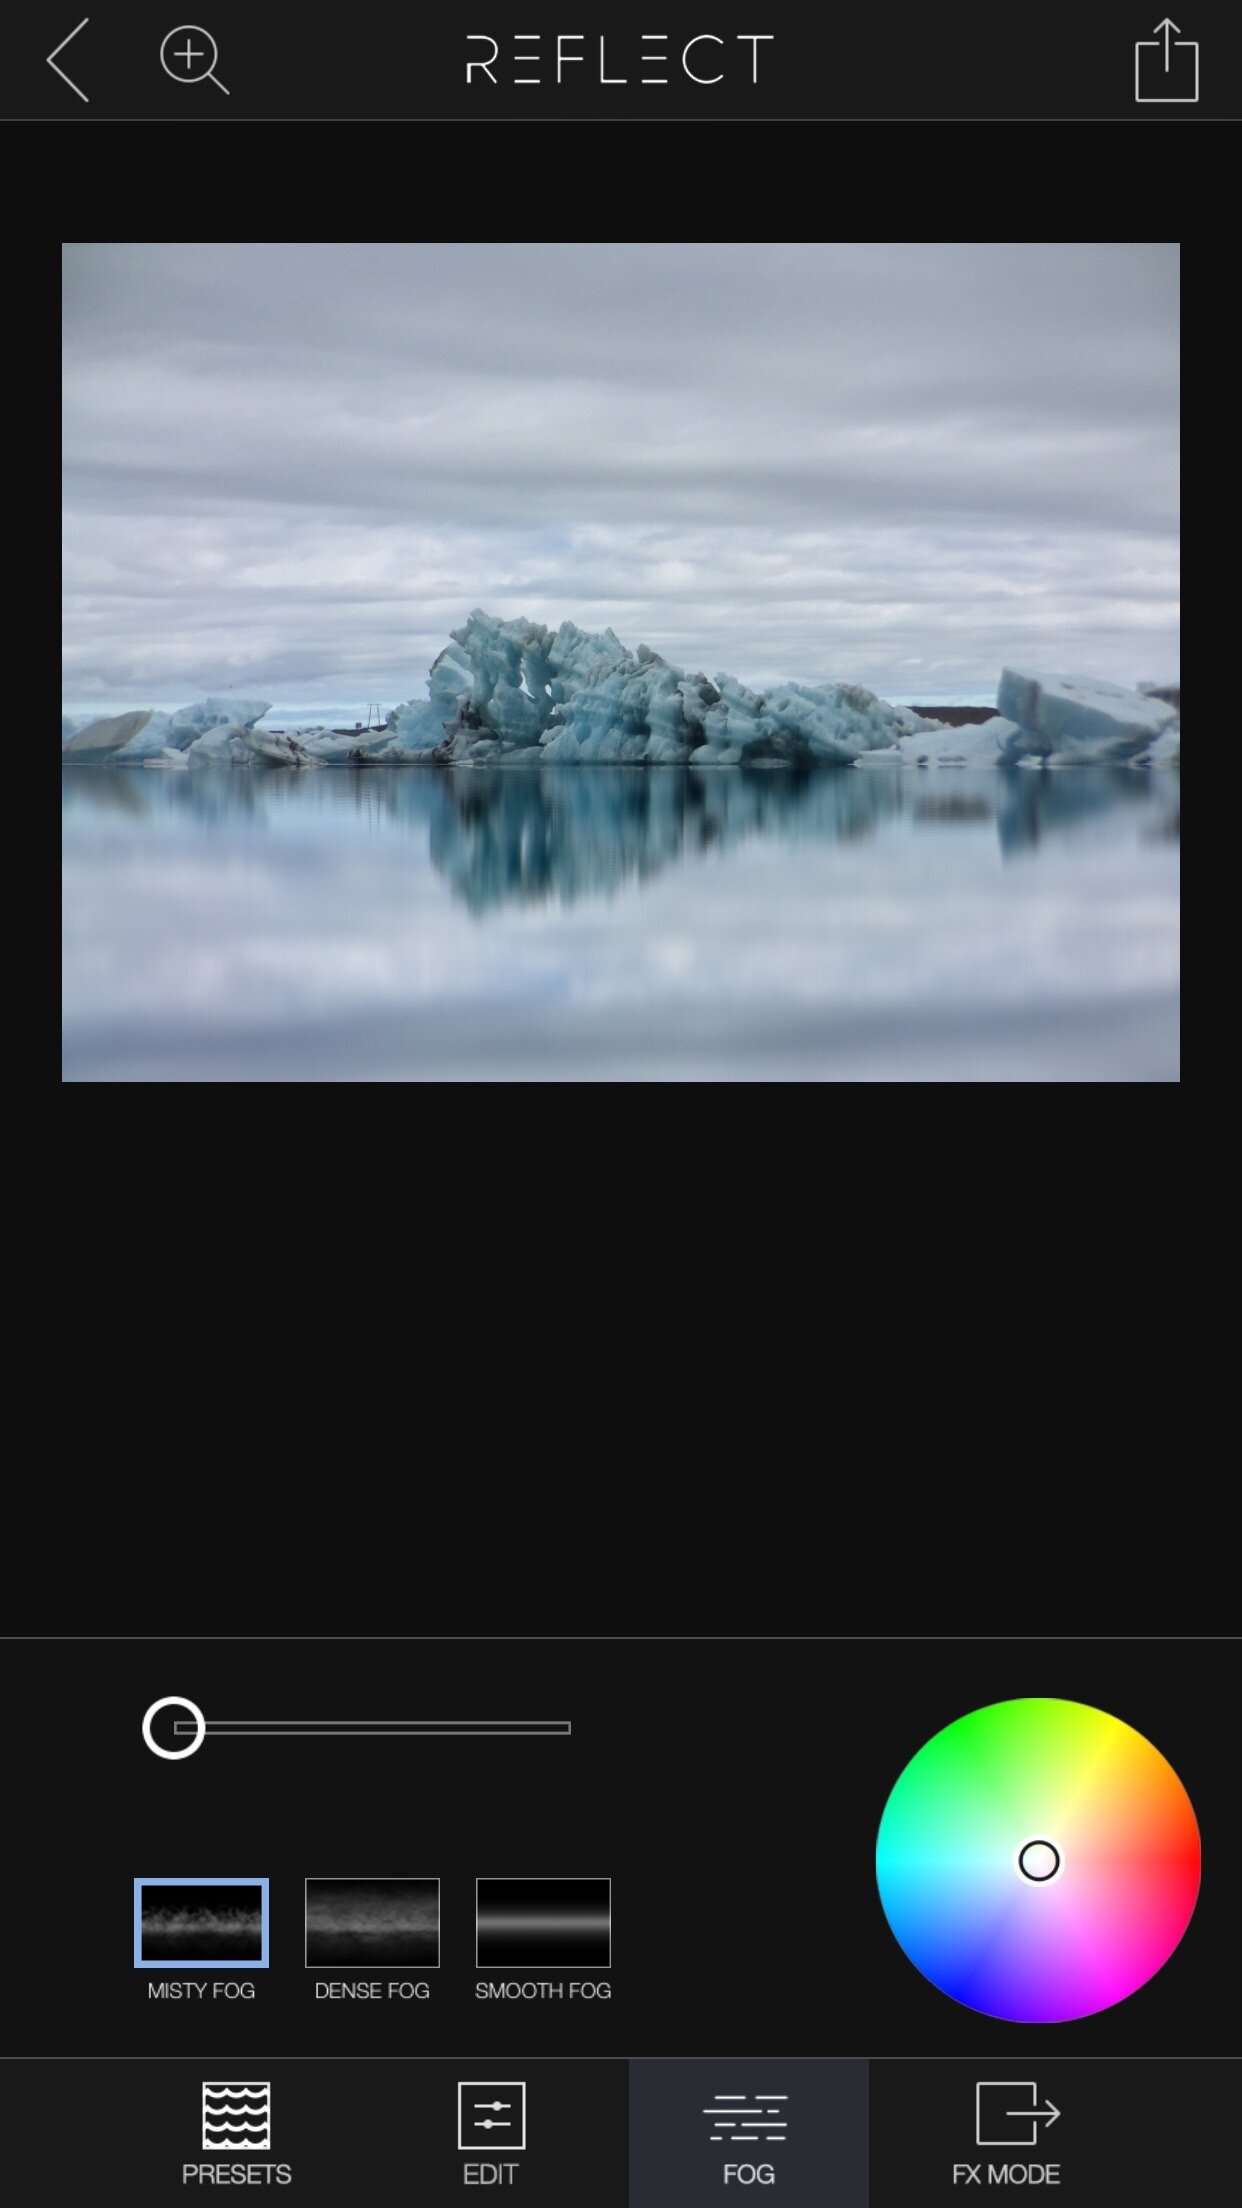
The app offers three different kinds of fog. Use the slider to set the intensity of the fog.
And finally, if you want to add e.g. the sun, a moon or even a lightning strike to your photos, switch to the FX Mode. This mode works the same in all other special effect apps from Brain Fever Media:
Tap "Layers", then the for the leftmost layer tap "+"
Chose the effect you want to add and tap it.
Done.
Though I use Camera Reflect App mainly for water reflections, you can do much more with the app like adding a reflection to a product shot or even put a beach in front of a skyline.
Care about some quick feedback about this article?

It's helpful

I still have a question

Not what I was looking for